360 degree feedback (also known as “peer review”) means you can get feedback from everyone around you: From your coworkers, manager, and team members, but even from more distant people like internal or external clients.
Some organizations decide to ditch the traditional manager-employee performance review entirely and only conduct 360s. Here at Small Improvements, we believe that both approaches have their place: A well-executed performance review is better suited to discuss difficult topics and to come up with new objectives and a career plan.
So we’d recommend that you combine them, for instance by conducting “traditional” but lightweight performance reviews in January and July, while performing peer reviews in April and October.
Small Improvements is versatile and configurable. Here’s the general workflow, but keep in mind that many steps can be adjusted to match your company:
- Step 1: An administrator creates a “360º Feedback Cycle” that holds the timeline, the questions to ask, and anonymity settings. The admin also decides who gets reviewed. It’s entirely possible to create parallel cycles for different audiences, using different settings and questions.
- Step 2: The administrator triggers an email to let reviewees nominate who they want feedback from. Reviewees log in and nominate their reviewers, and indicate to their manager once they are done. Note: This step can be omitted if you want managers to decide who reviews who.
- Step 3: Managers adjust and approve reviewers of their direct reports. Once approved, reviewers get notified. Also, once approved only managers can add additional reviewers, it’s too late then for the reviewee to change their minds. Note: This step can be omitted if you want to skip the approval process.
- Step 4: Reviewers write their feedback. Nothing is delivered before the deadline defined by the admin. Admins can easily remind those who are running late.
- Step 5: The feedback gets delivered to the intended recipients. Based on cycle settings, you may have a date to release all the feedback at once, or you may allow managers to release feedback when they choose. Your cycle settings will dictate who sees the feedback and it may be delivered in anonymized form or not.
Creating the cycle
To create a new 360° cycle or modify an existing one, go to the Company tab, 360s, and view the cycle administration screen. You can copy an existing cycle or create one from scratch using the ‘Create Cycle’ button.

This will take you to a screen that will guide you through a few steps to set up a 360° feedback cycle. Once you finish, you’ll see an overview of your settings where you can preview your questionnaire before you create the cycle.
Select reviewees
First, select the employees who should receive feedback in this cycle. You can easily select teams, sort by department, or add all managers for a dedicated upwards feedback cycle. If you’d like to set up a future cycle or don’t know exactly who should be reviewed yet, just click ‘Select reviewees later’ to skip this step. You can add reviewers later.
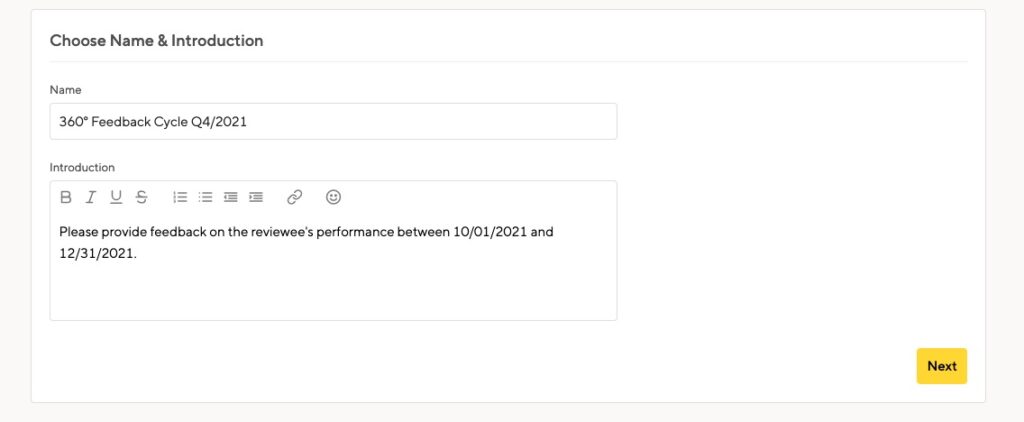
Name your cycle
Next, give the cycle a name and introduction. Reviewers will see this introduction when they give feedback to coworkers, so if you’d like them to follow certain guidelines or concentrate on a particular time period when writing their feedback, let them know here.
Reviewer Selection Process
By default, cycle participants can nominate their own reviewers. You can disable this setting to have HR Admins or managers choose reviewers. You can also allow for proactive 360 feedback, limit the number of reviewers allowed or suggest the number of reviewers an employee should nominate.
Learn more about the reviewer selection process here
Compose the questionnaire
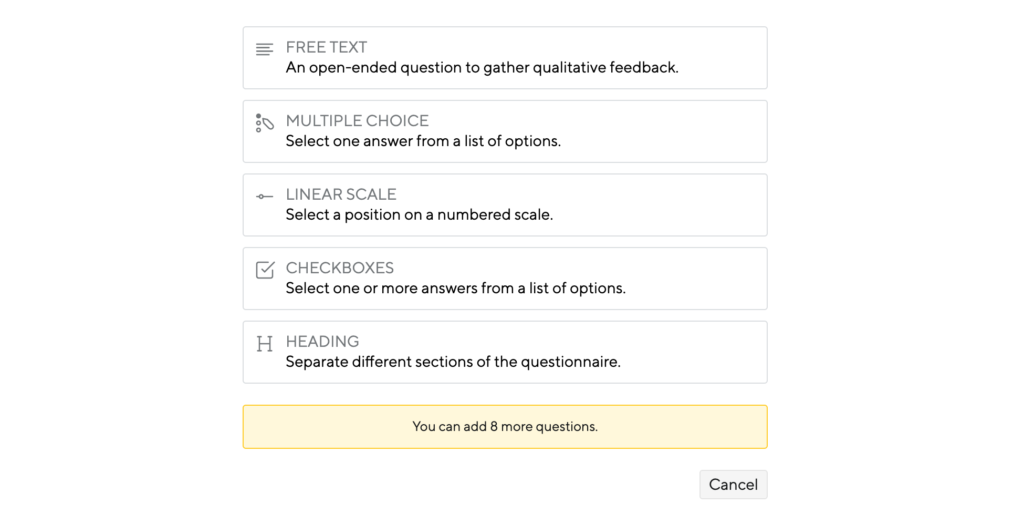
Next you’ll compose the questionnaire that employees will fill out when providing feedback for their peers. There are two sample free-text questions that you can edit.
You also have the option to include Multiple Choice, Linear Scale, or Checkbox questions. Read more about these types of questions and when to use them.
If you’d like to group questions by topic – e.g. a section on company values – you can add Headings.
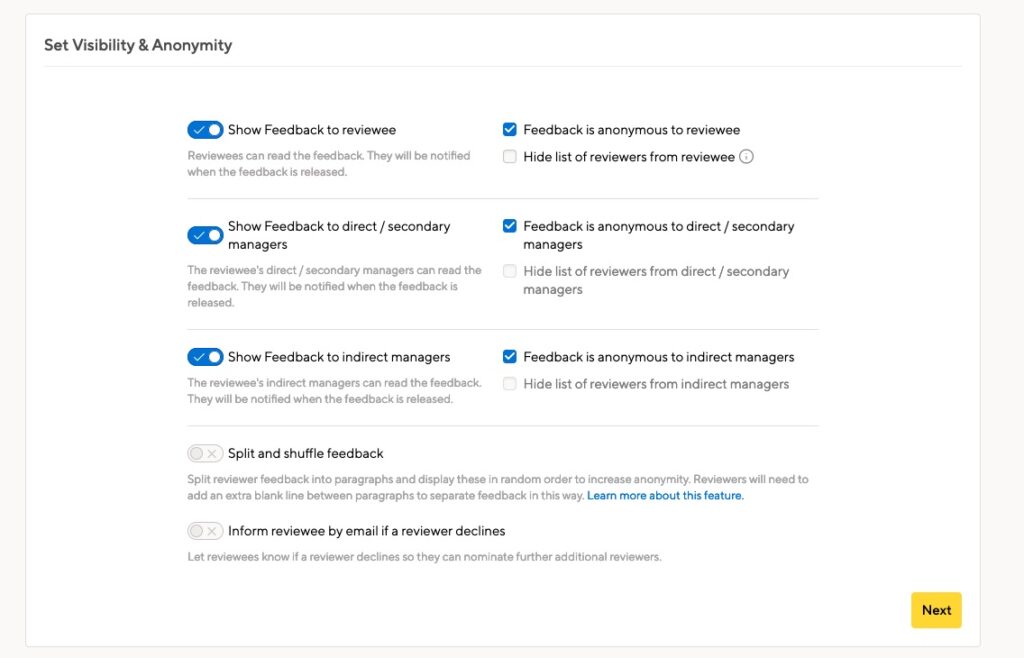
Visibility and anonymity settings
Who should see the feedback written in this cycle? You can choose to show feedback to the reviewee, her manager, and/or her indirect manager. The same goes for the reviewer of the feedback – you can choose to show the reviewer’s identity to reviewees, managers, and/or indirect managers. Note that hiding authorship does not hide the list of reviewers to the reviewee, rather just who wrote what. Learn more about fine-tuning your visibility settings.
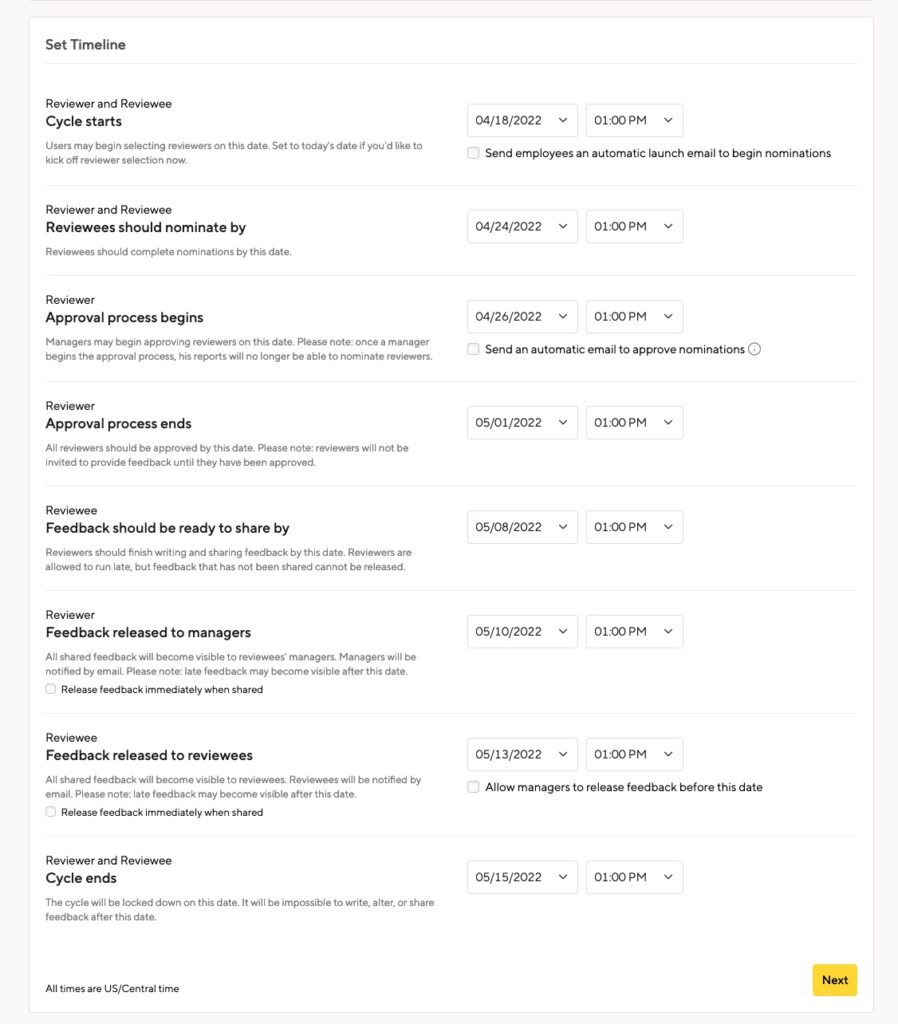
Set the cycle’s timeline
As the last step you’ll define the cycle’s timeline. First set a start date – when should the cycle and thus the section process begin? If you want the cycle to start immediately, keep this set to the current date and you’ll be able to send out email notifications about the cycle right away.
If you’re setting up a cycle for the future, select a future date in this field and the rest of the timeline will adjust accordingly with our recommended settings. You can also choose to have the kickoff email automatically sent when the cycle starts.
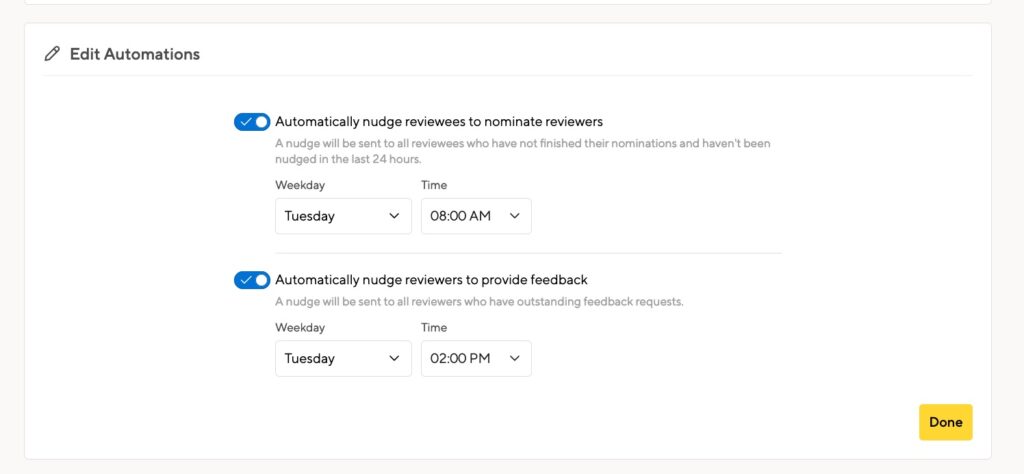
Automate your reminders
If your employees are nominating their reviewers, you can have an automated nudge sent on a regular cadence. You can also automate nudges to remind people to write their feedback.
Customize your notifications
It can be very helpful to include custom information in your notification emails. It’s optional, and you can choose to leave default content, or edit emails at the account level.
Custom emails are the final step of the setup process, though you can edit those emails at any time during the cycle.
Learn more about 360 notification emails
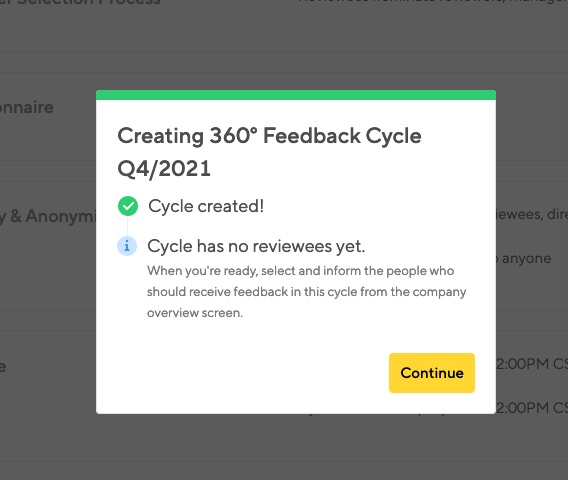
Create the cycle!
If Reviewee Nominations are on and you’ve set the cycle to start immediately, you’ll have the option to invite reviewees to pick reviewers right away, and preview the email they’ll receive. Of course, you may skip this step if you like and send invitations later, from the Company Overview.
Depending on how your cycle is set up, we’ll inform you in the confirmation overlay of any next steps to take after cycle creation.